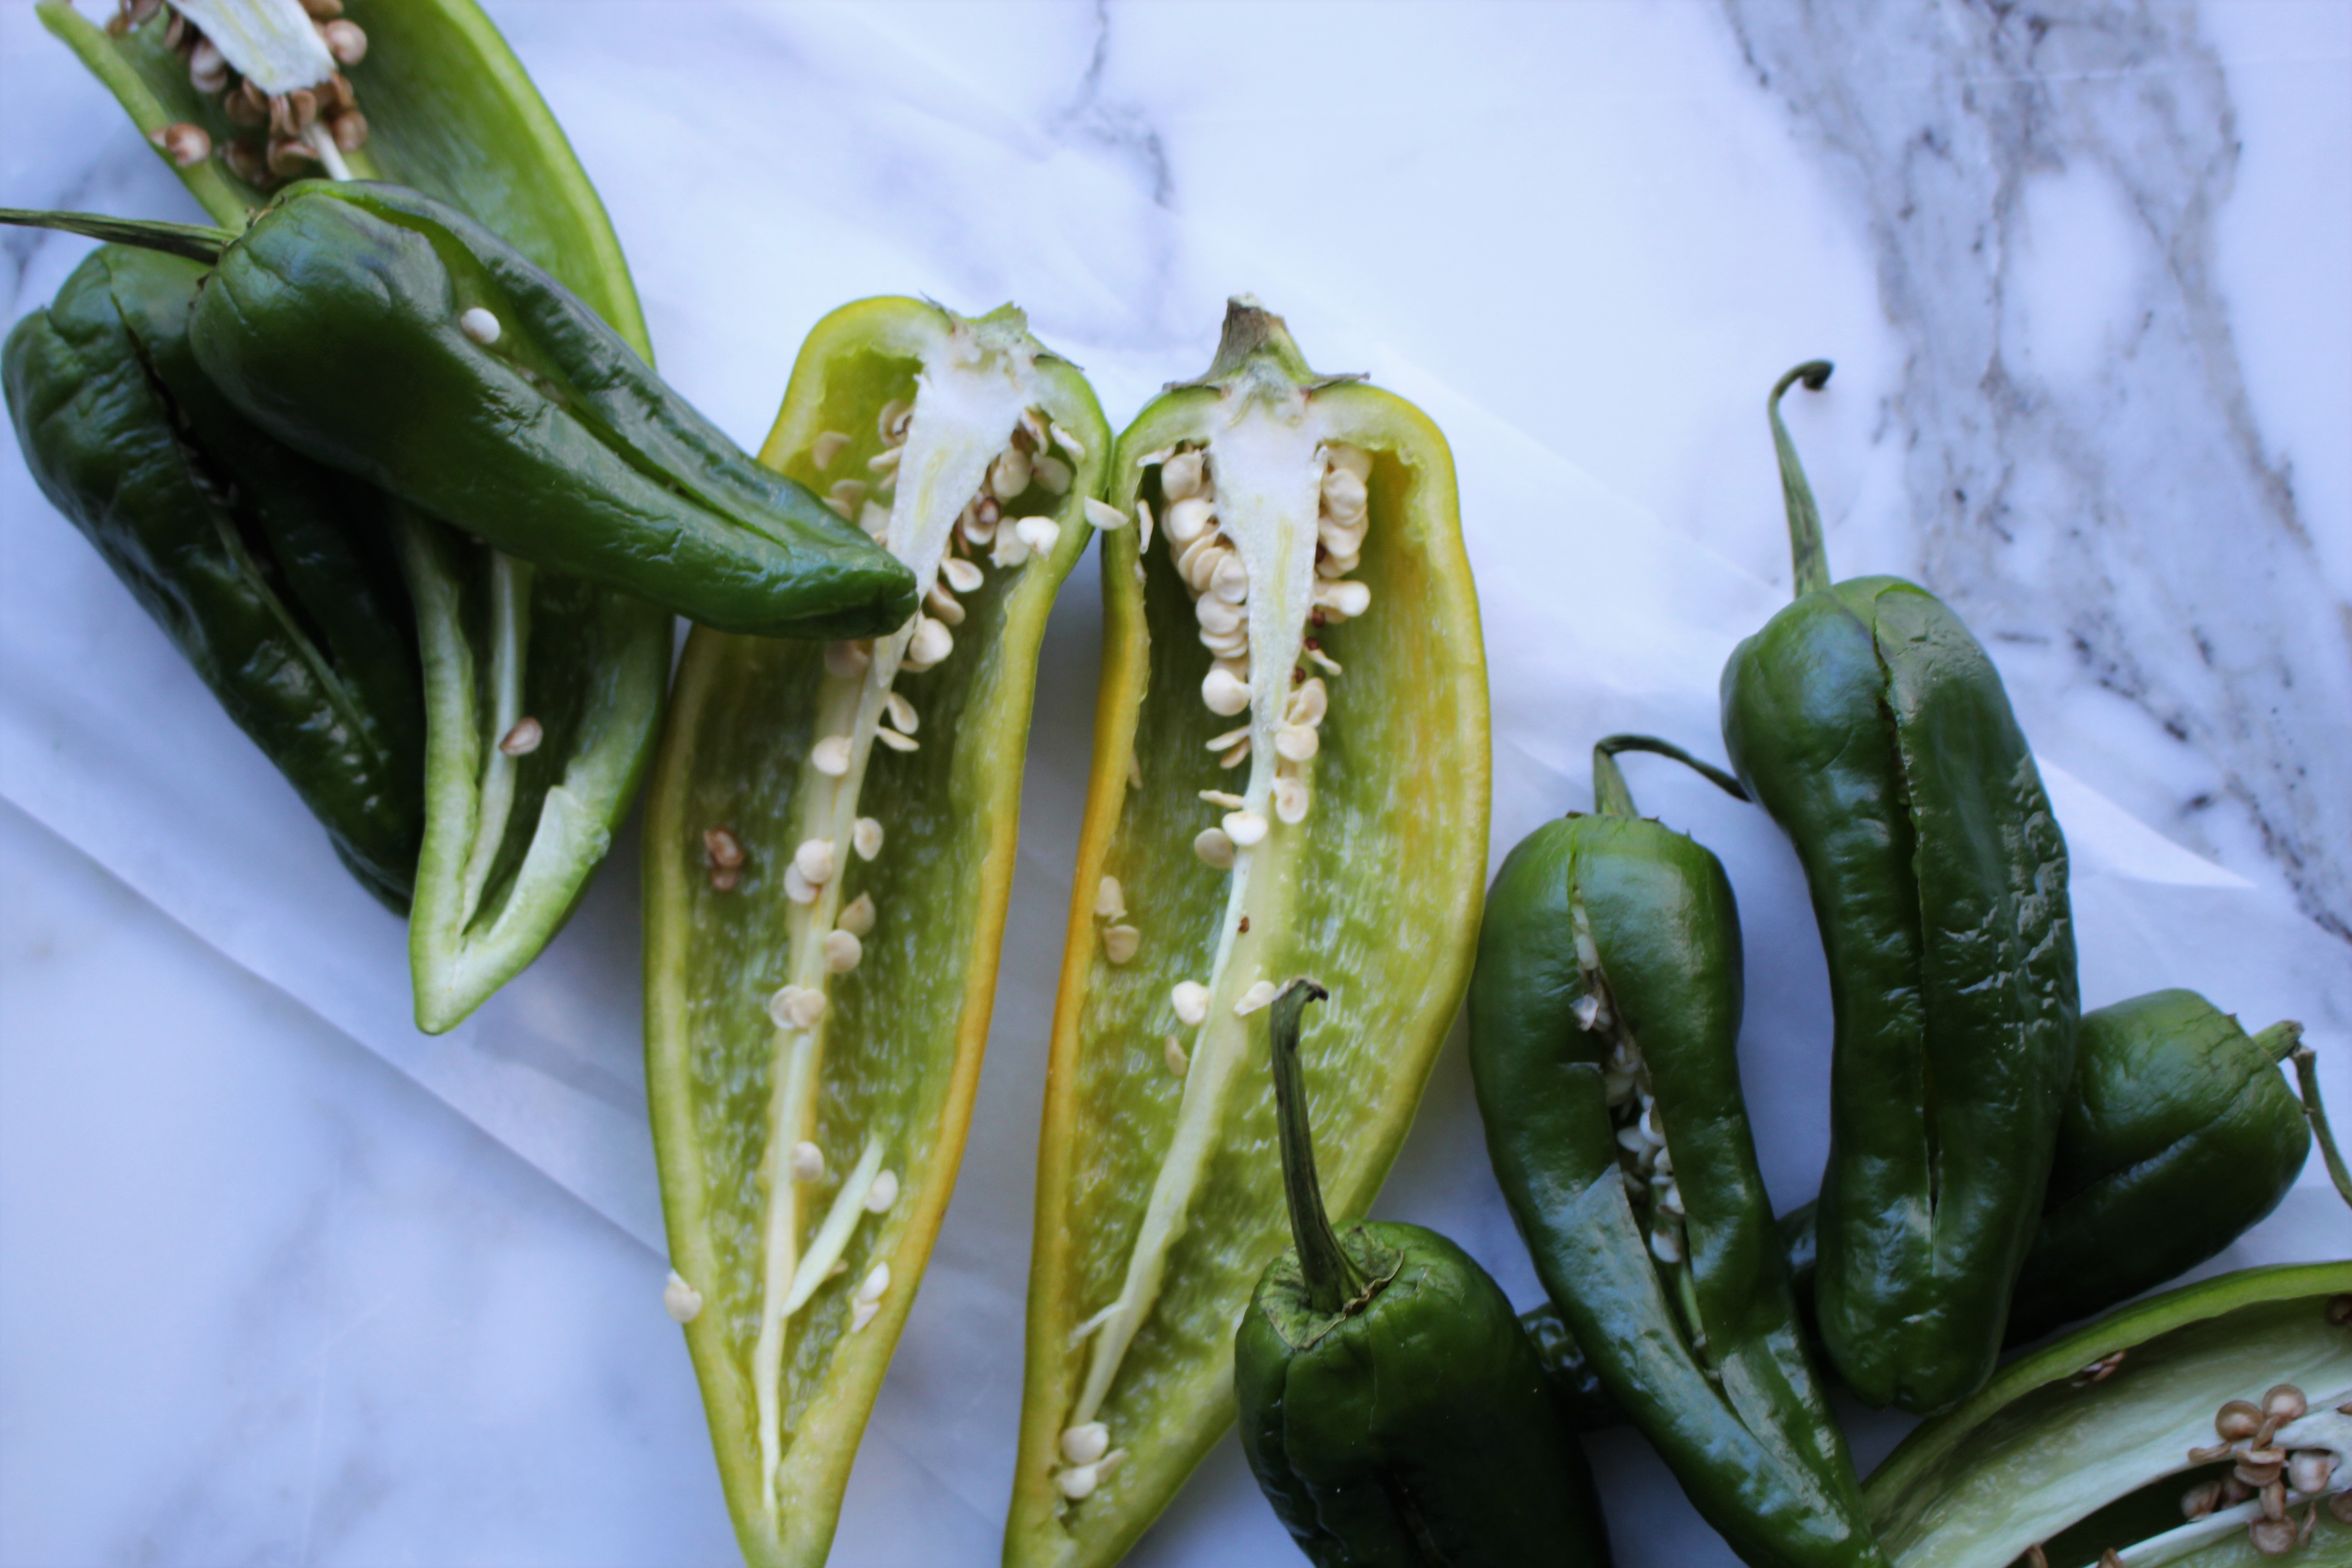
 When my husband and I found a plethora of long hot peppers on the reduced rack at the grocery store, we immediately thought jalapeno poppers. I know that jalapeno poppers, by name, are exclusive to peppers that are in fact jalapenos, but hey, when I am ever bothered by exclusivity in my kitchen, so I decided to switch it up. Here, I used two different kinds of peppers, and you will notice that I left the seeds in my version because after, bravely or through sheer stupidity, tasting a seed, I realized that these peppers were mild. Please feel free remove the pith and seeds if you choose. Just choose a pepper that has enough internal space to be stuffed.
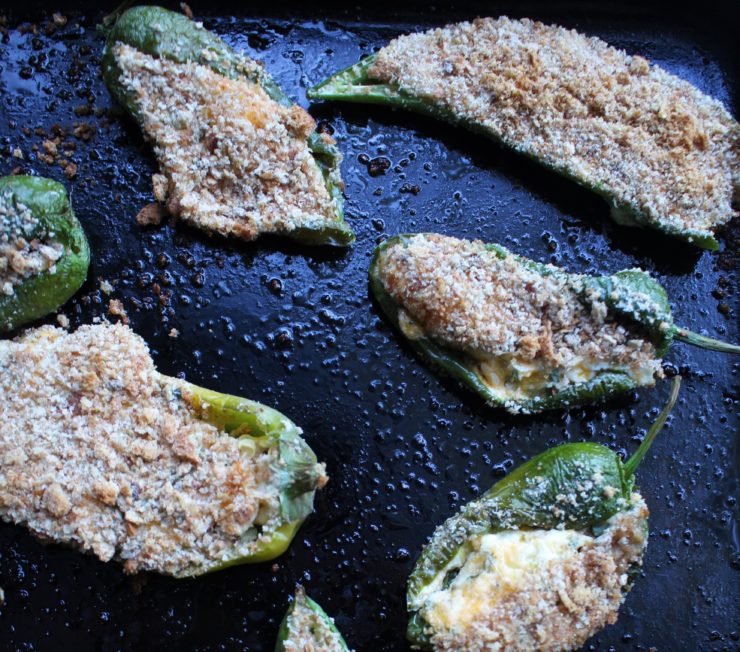
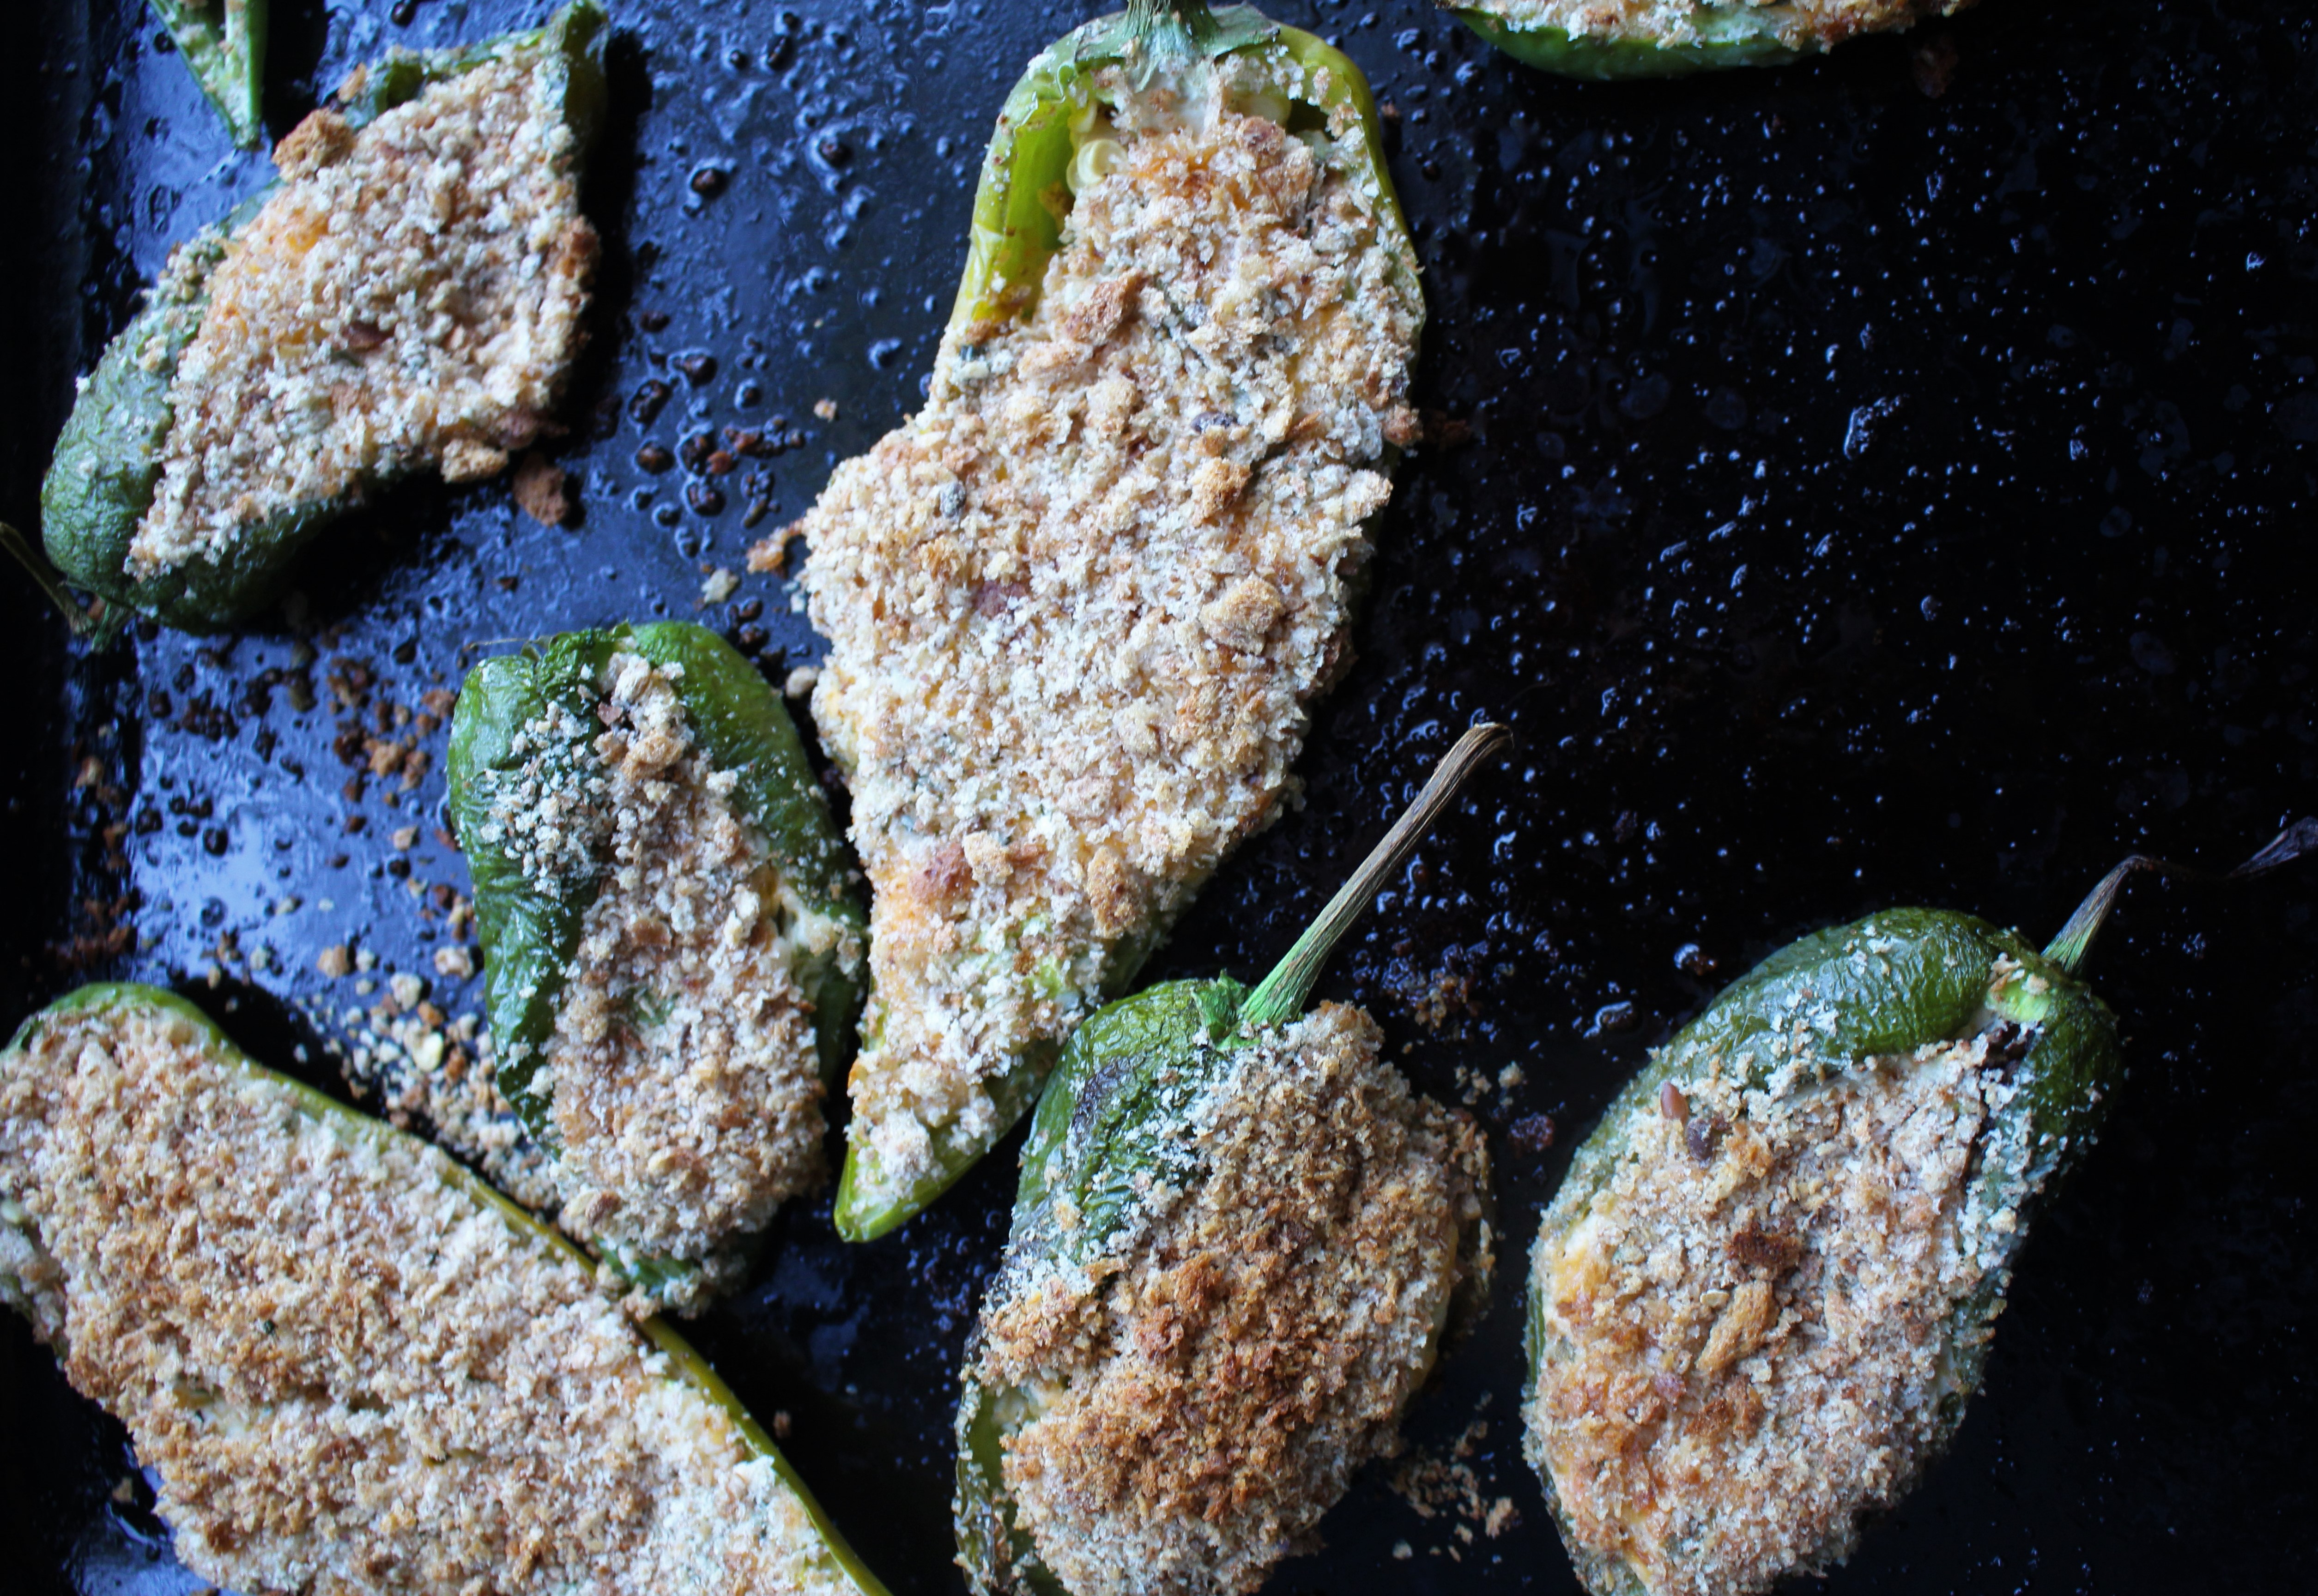
I have opted to bake these, although I will admit that when they are grilled on the barbecue, they are exceptional. I wanted a version that I could eat guilt-free, okay, relatively guilt-free. They are easy to prepare and can be made ahead. Creamy, cheesy, and spicy, with a little crunch from the bread crumbs, they disappear fast in our home.
The only warnings I wish to impart is to wear gloves when handling hot peppers, taste the seed very cautiously, or better yet, get someone else to taste it! The things we have to do for an exceptional popper!
INGREDIENTS (serves 4)
8 peppers, suitable for stuffing, slit down the middle, if preferred, seeds & pith removed
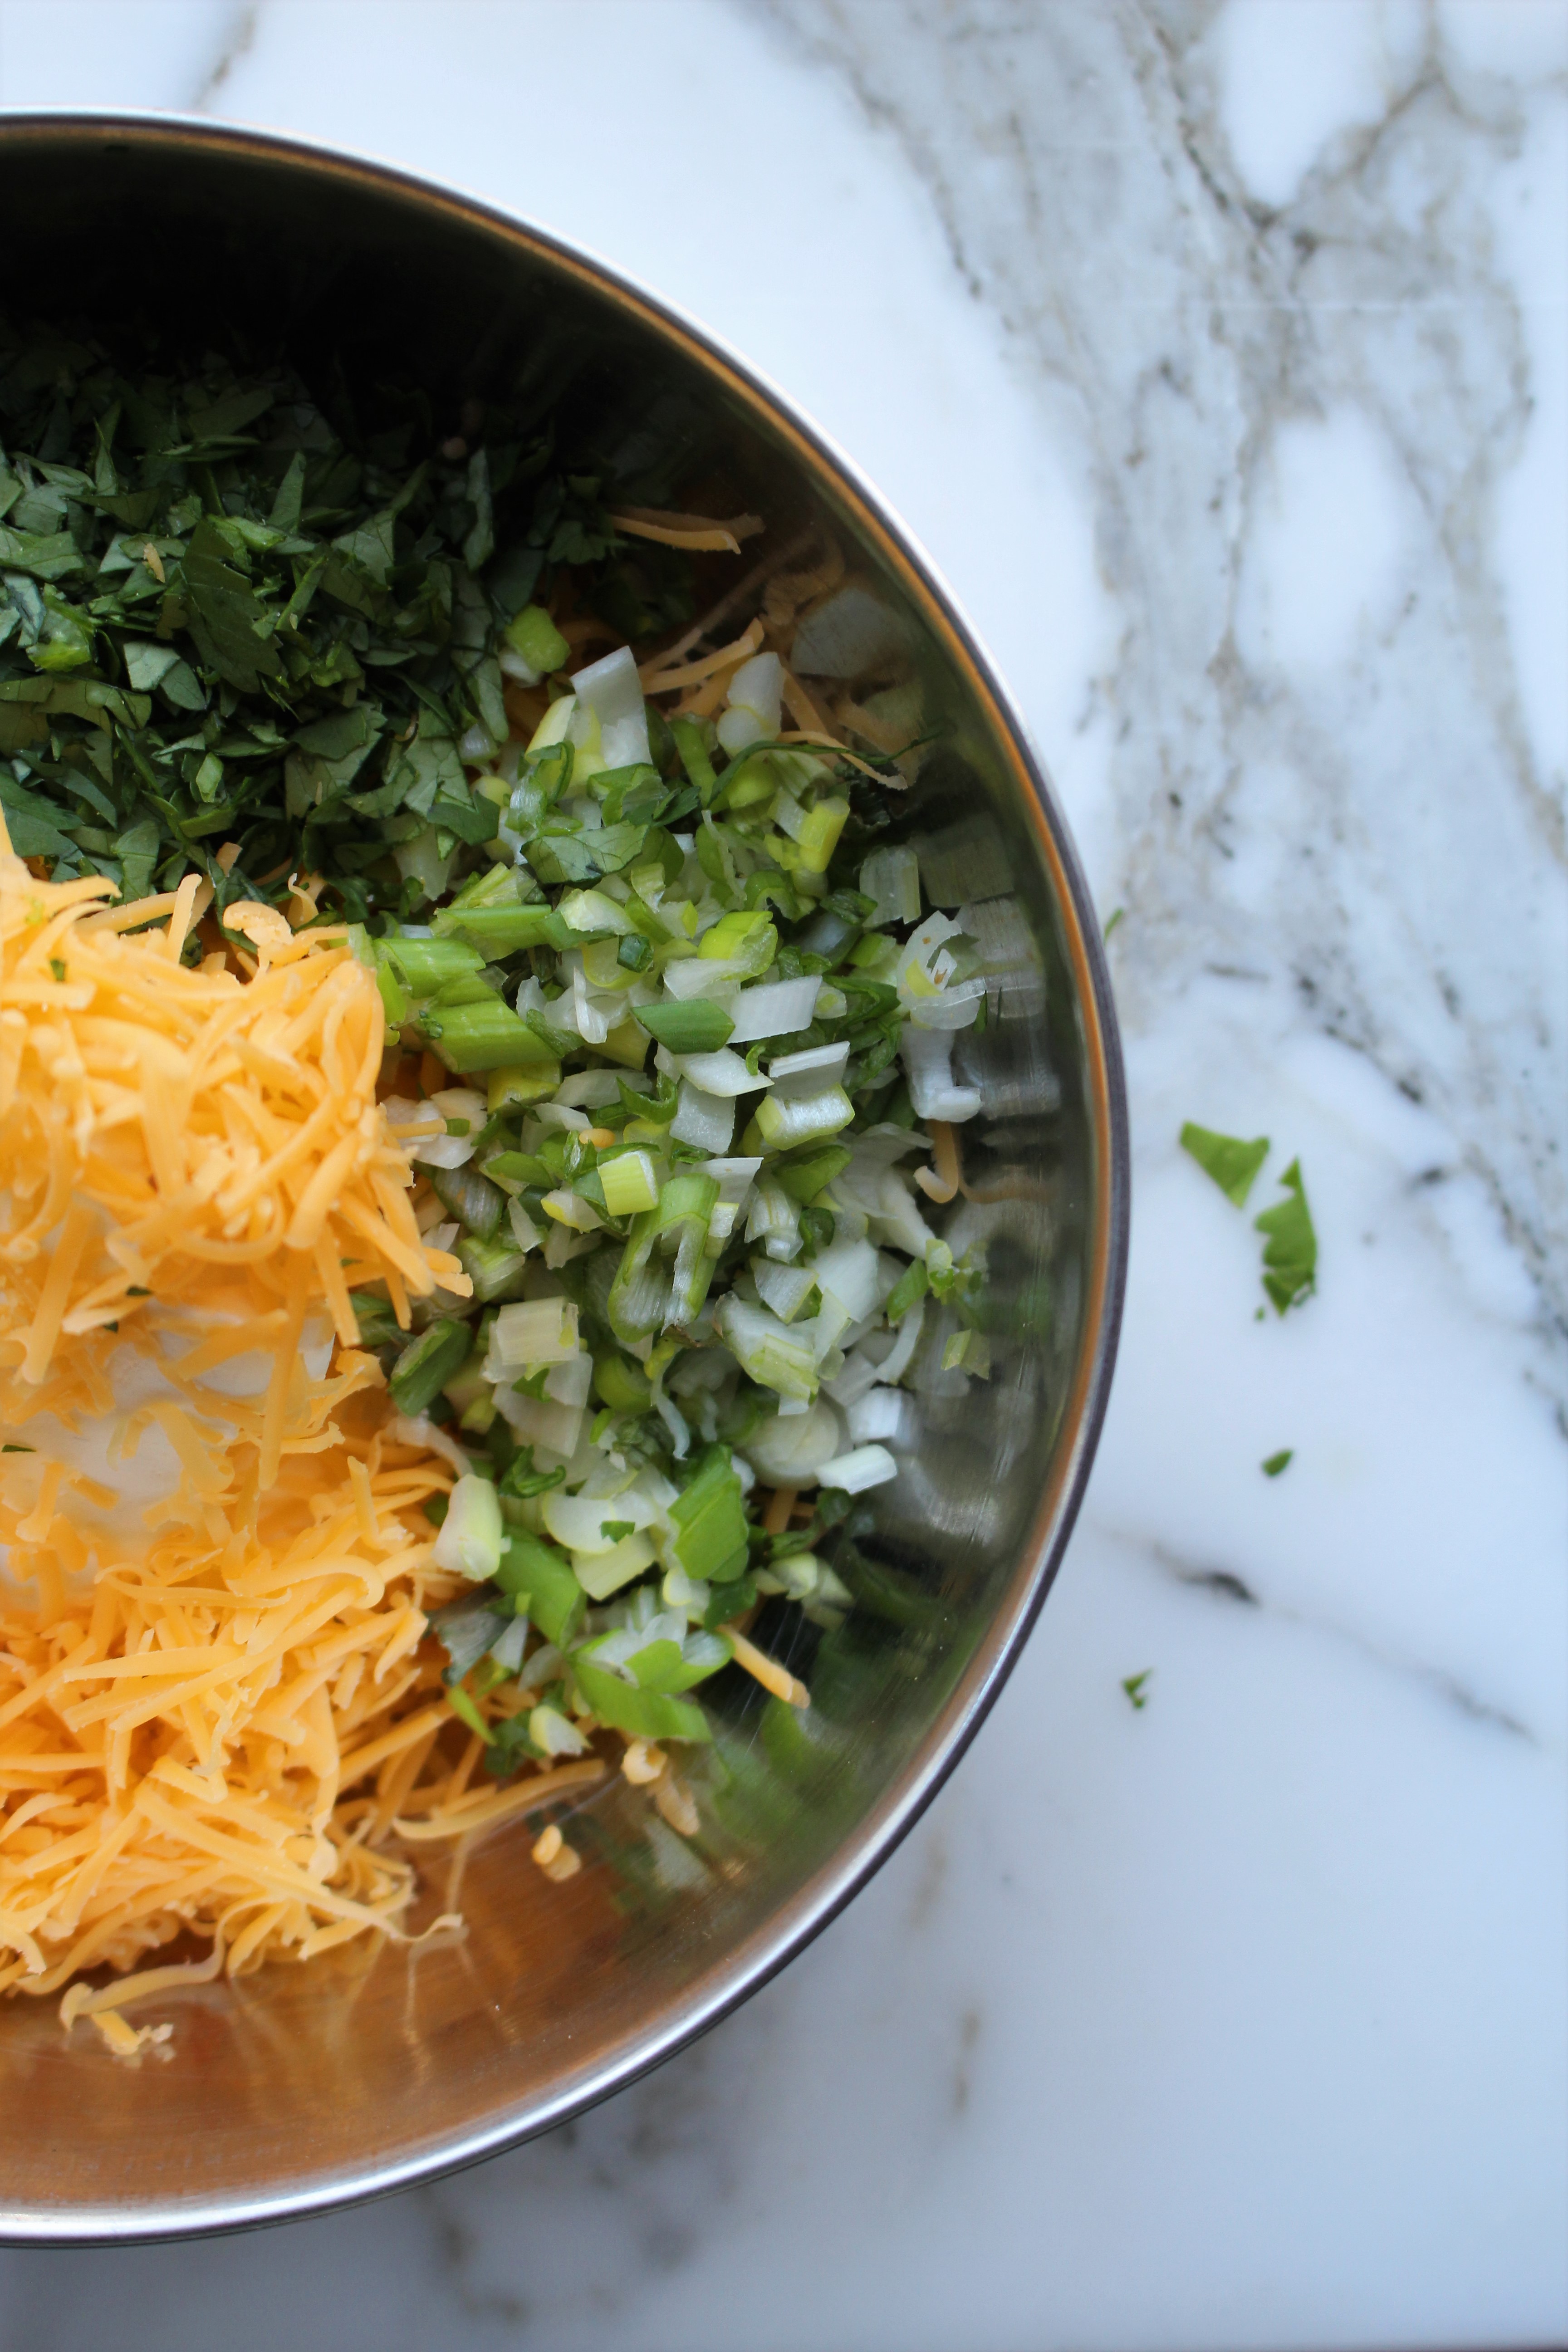
100 grams of cream cheese, softened
20 grams of cheddar cheese, finely grated
1 green onion, trimmed, finely chopped
1 tablespoon of fresh coriander, finely chopped
1/2 cup of dried bread crumbs, plus more if needed
METHOD
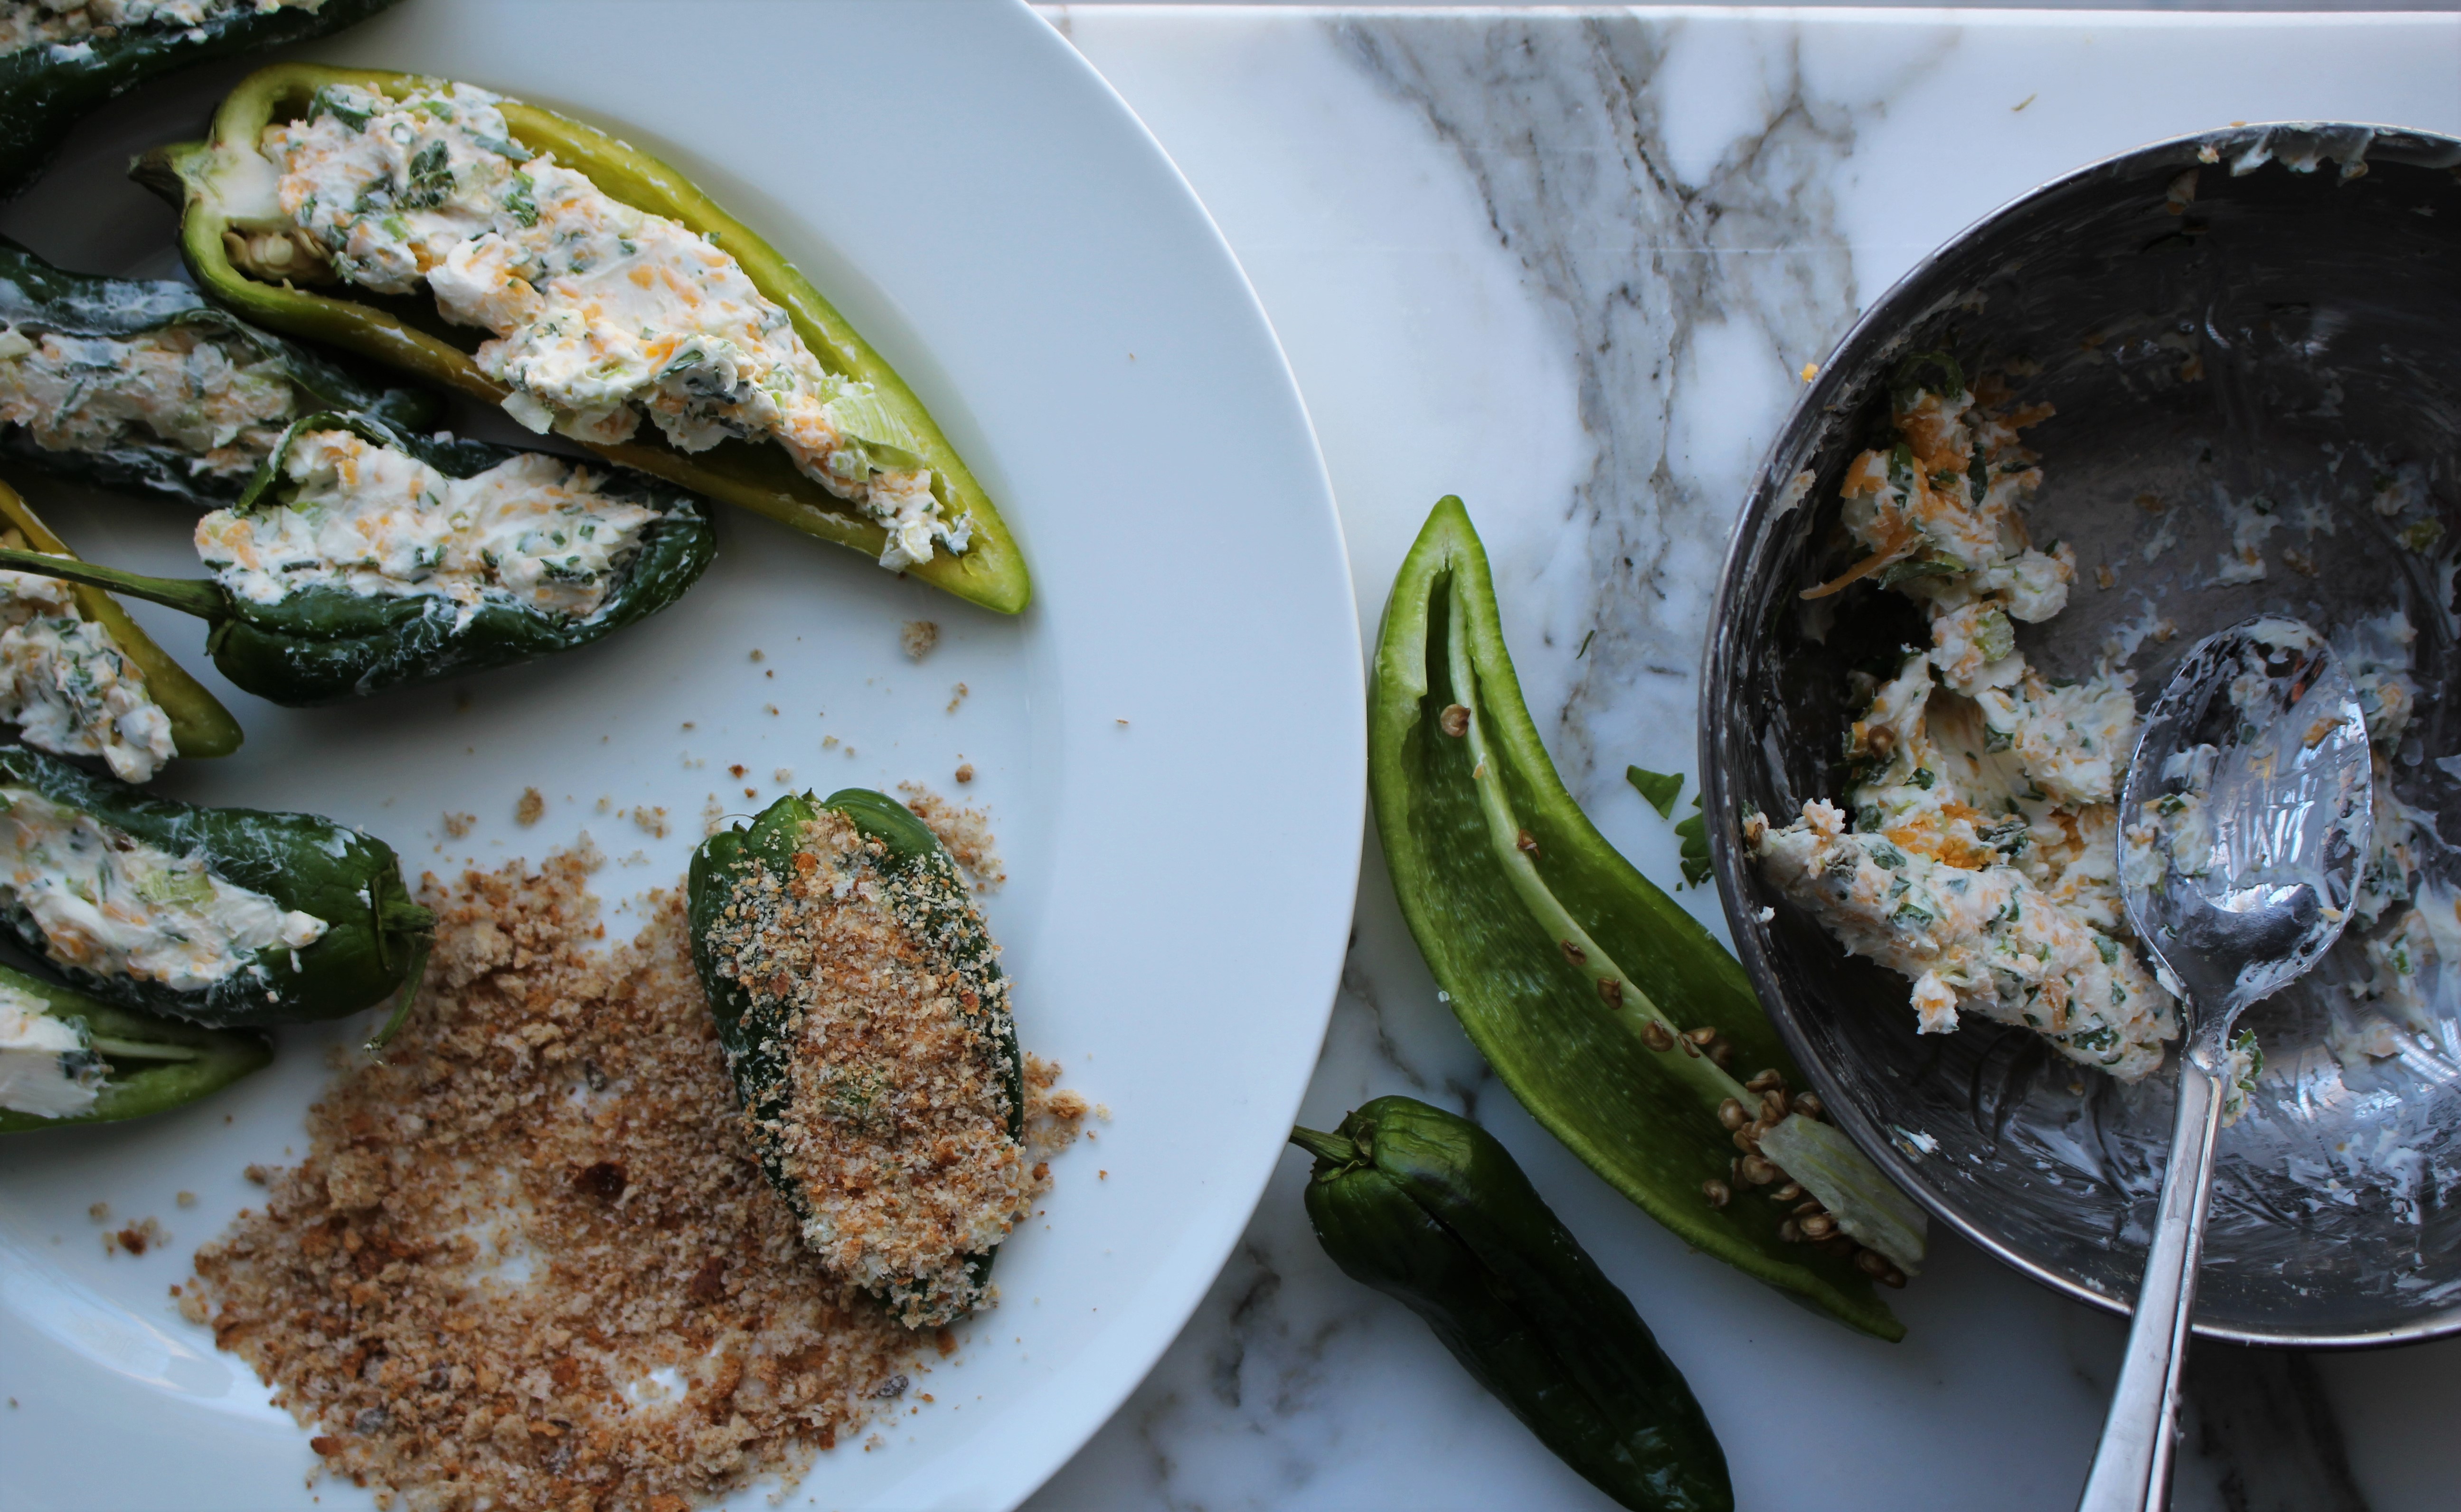
- Wash and slit the peppers down the middle only on side, being careful not to pierce through to the other side of the pepper. Two of my peppers were quite large, so I opted to split them in half versus slitting them. If preferred, remove the pith and seeds. Set aside.
- Using a small spatula or a spoon, combine both cheeses, green onion, and fresh coriander, ensuring that they form one cohesive mass. Depending on the size of your peppers, form little nuggets of the cheese mixture. This helps when stuffing the peppers.
- Stuff the peppers. My long peppers, took 1 1/2 to 2 tablespoons of filling, while my small peppers took 1 tablespoon. Steps 1 to 3 can be made ahead. If making ahead, store them in the fridge till ready to bake.
- When ready to bake, place the bread crumbs on a plate, and dip the stuffed peppers into the bread mixture. Press down to ensure that the exposed cheese mixture is coated in bread crumbs. The more bread crumbs you can press on, the crunchier your end popper result.
- Bake in a preheated 400 degree oven on a greased cookie sheet for 10-12 or until the bread crumbs have browned, and the cheese is melted. Be careful, its hot!

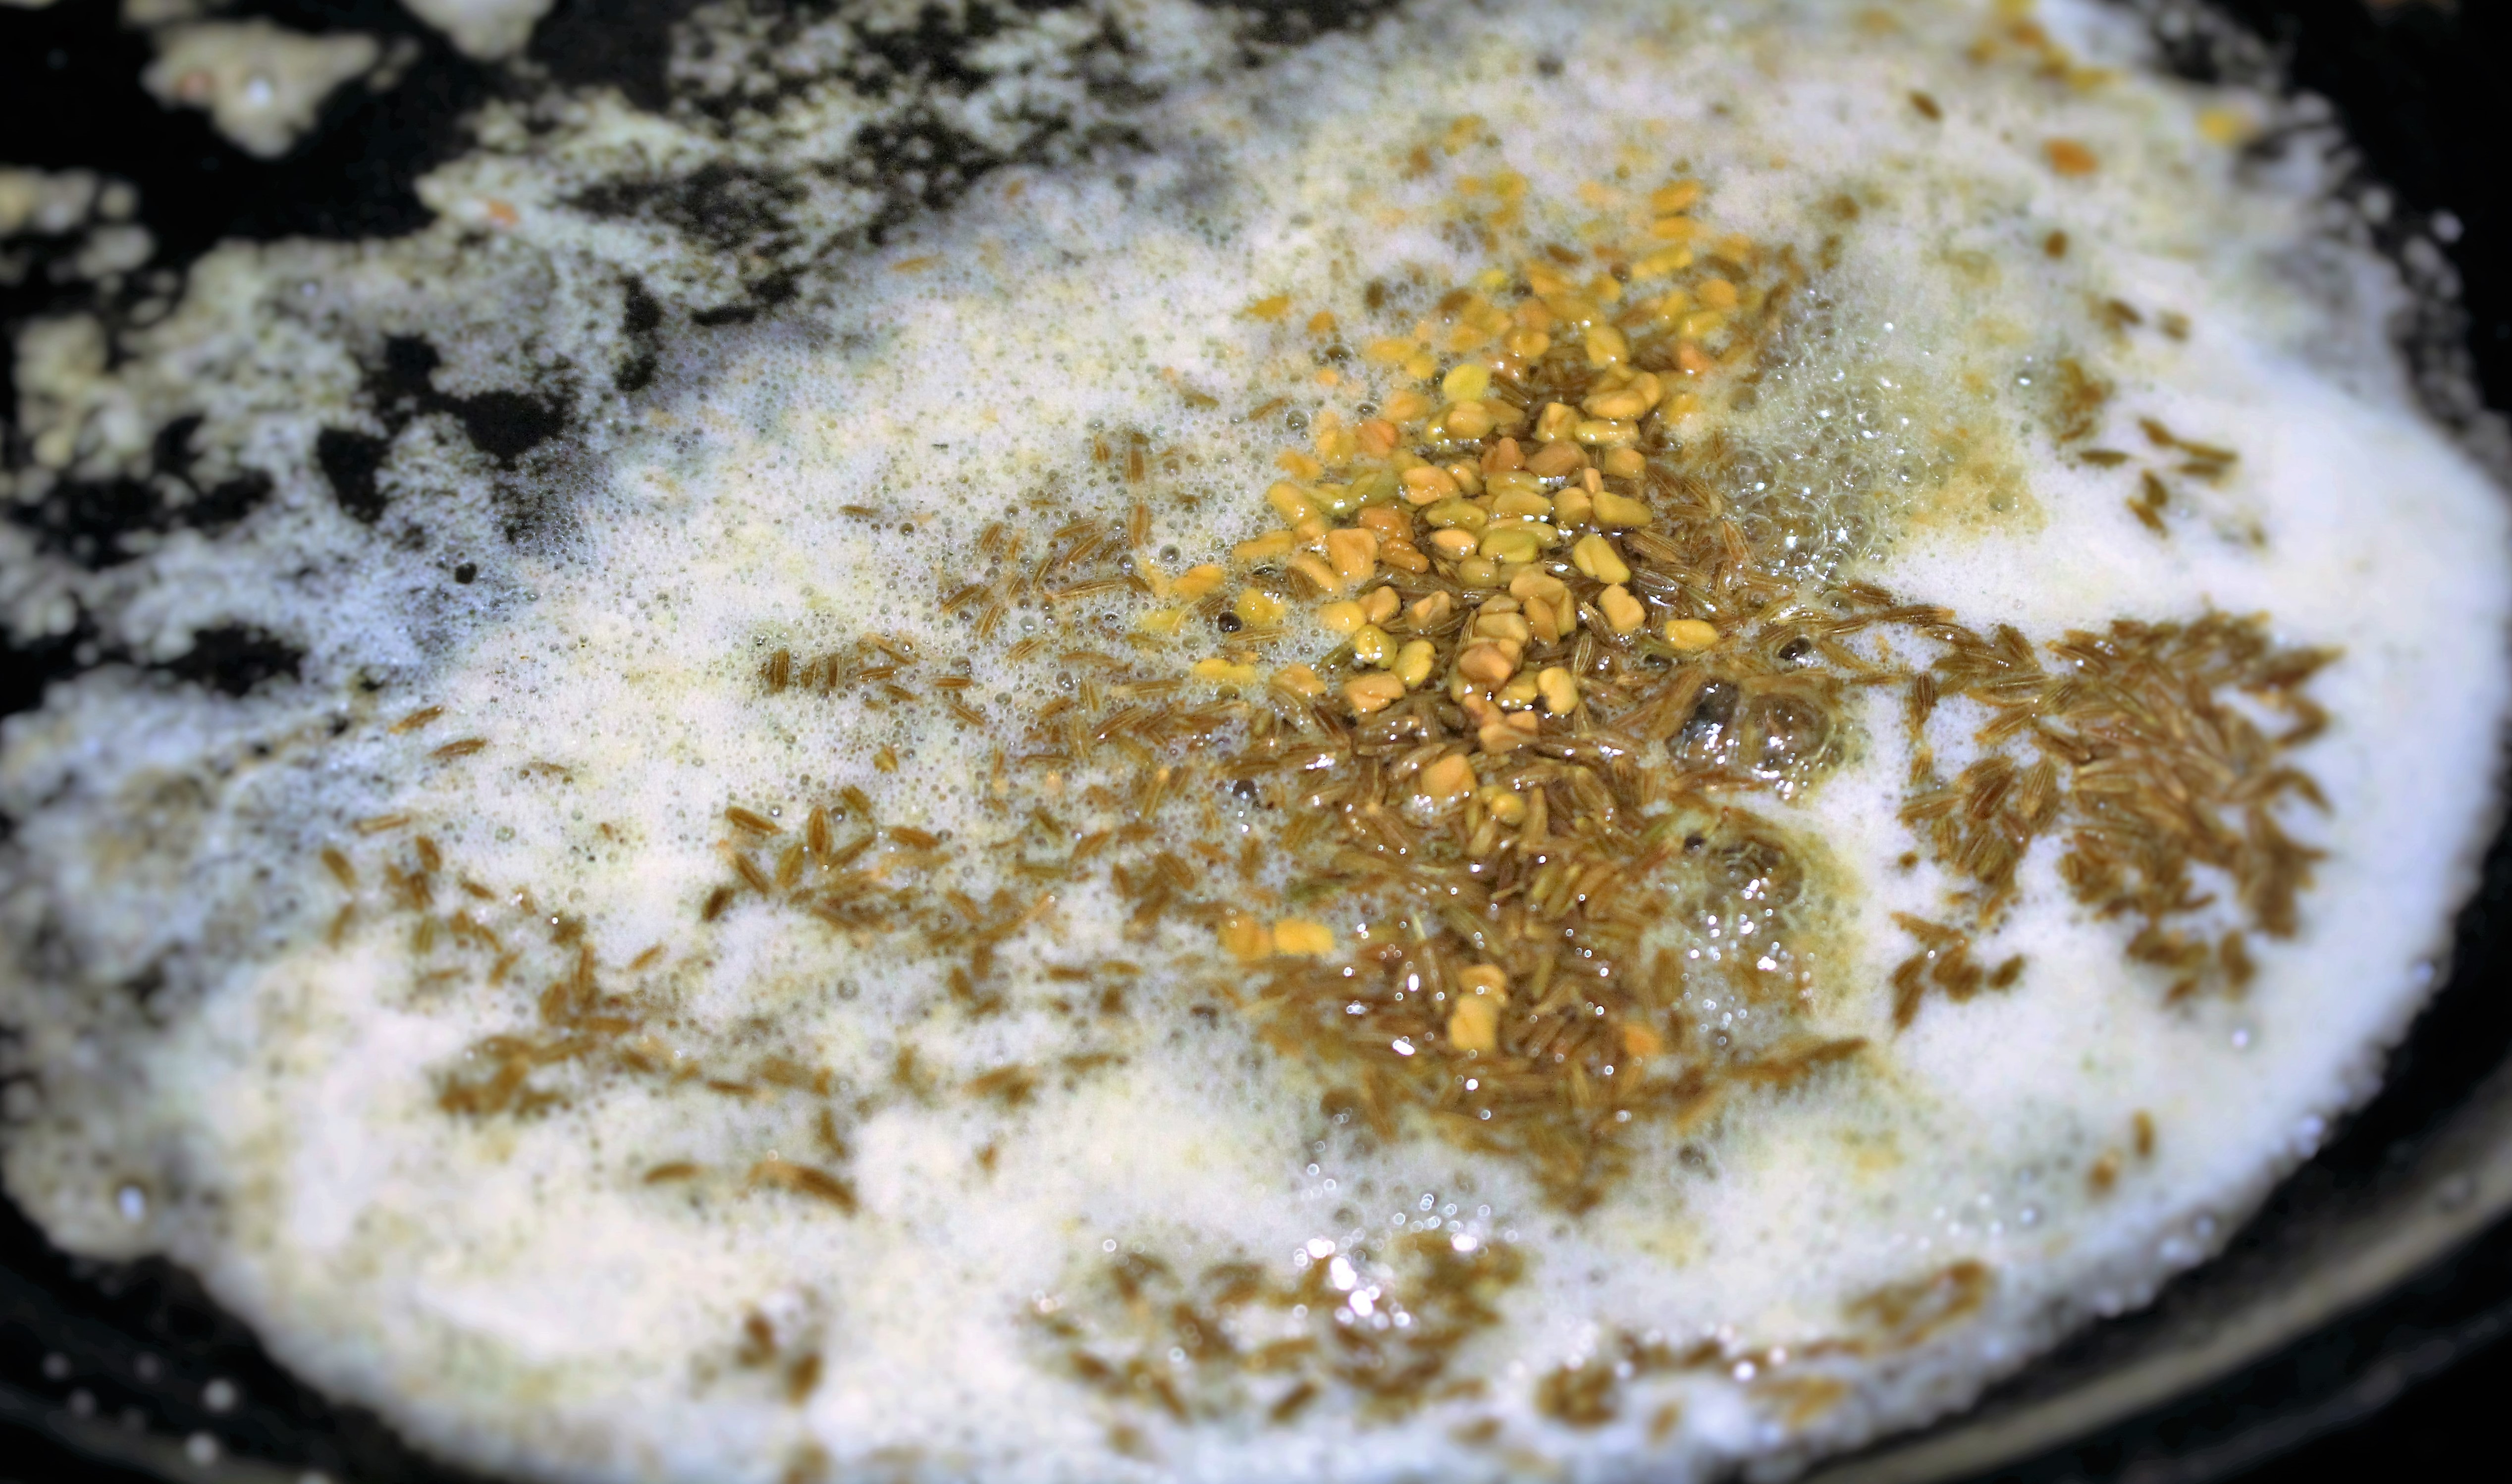
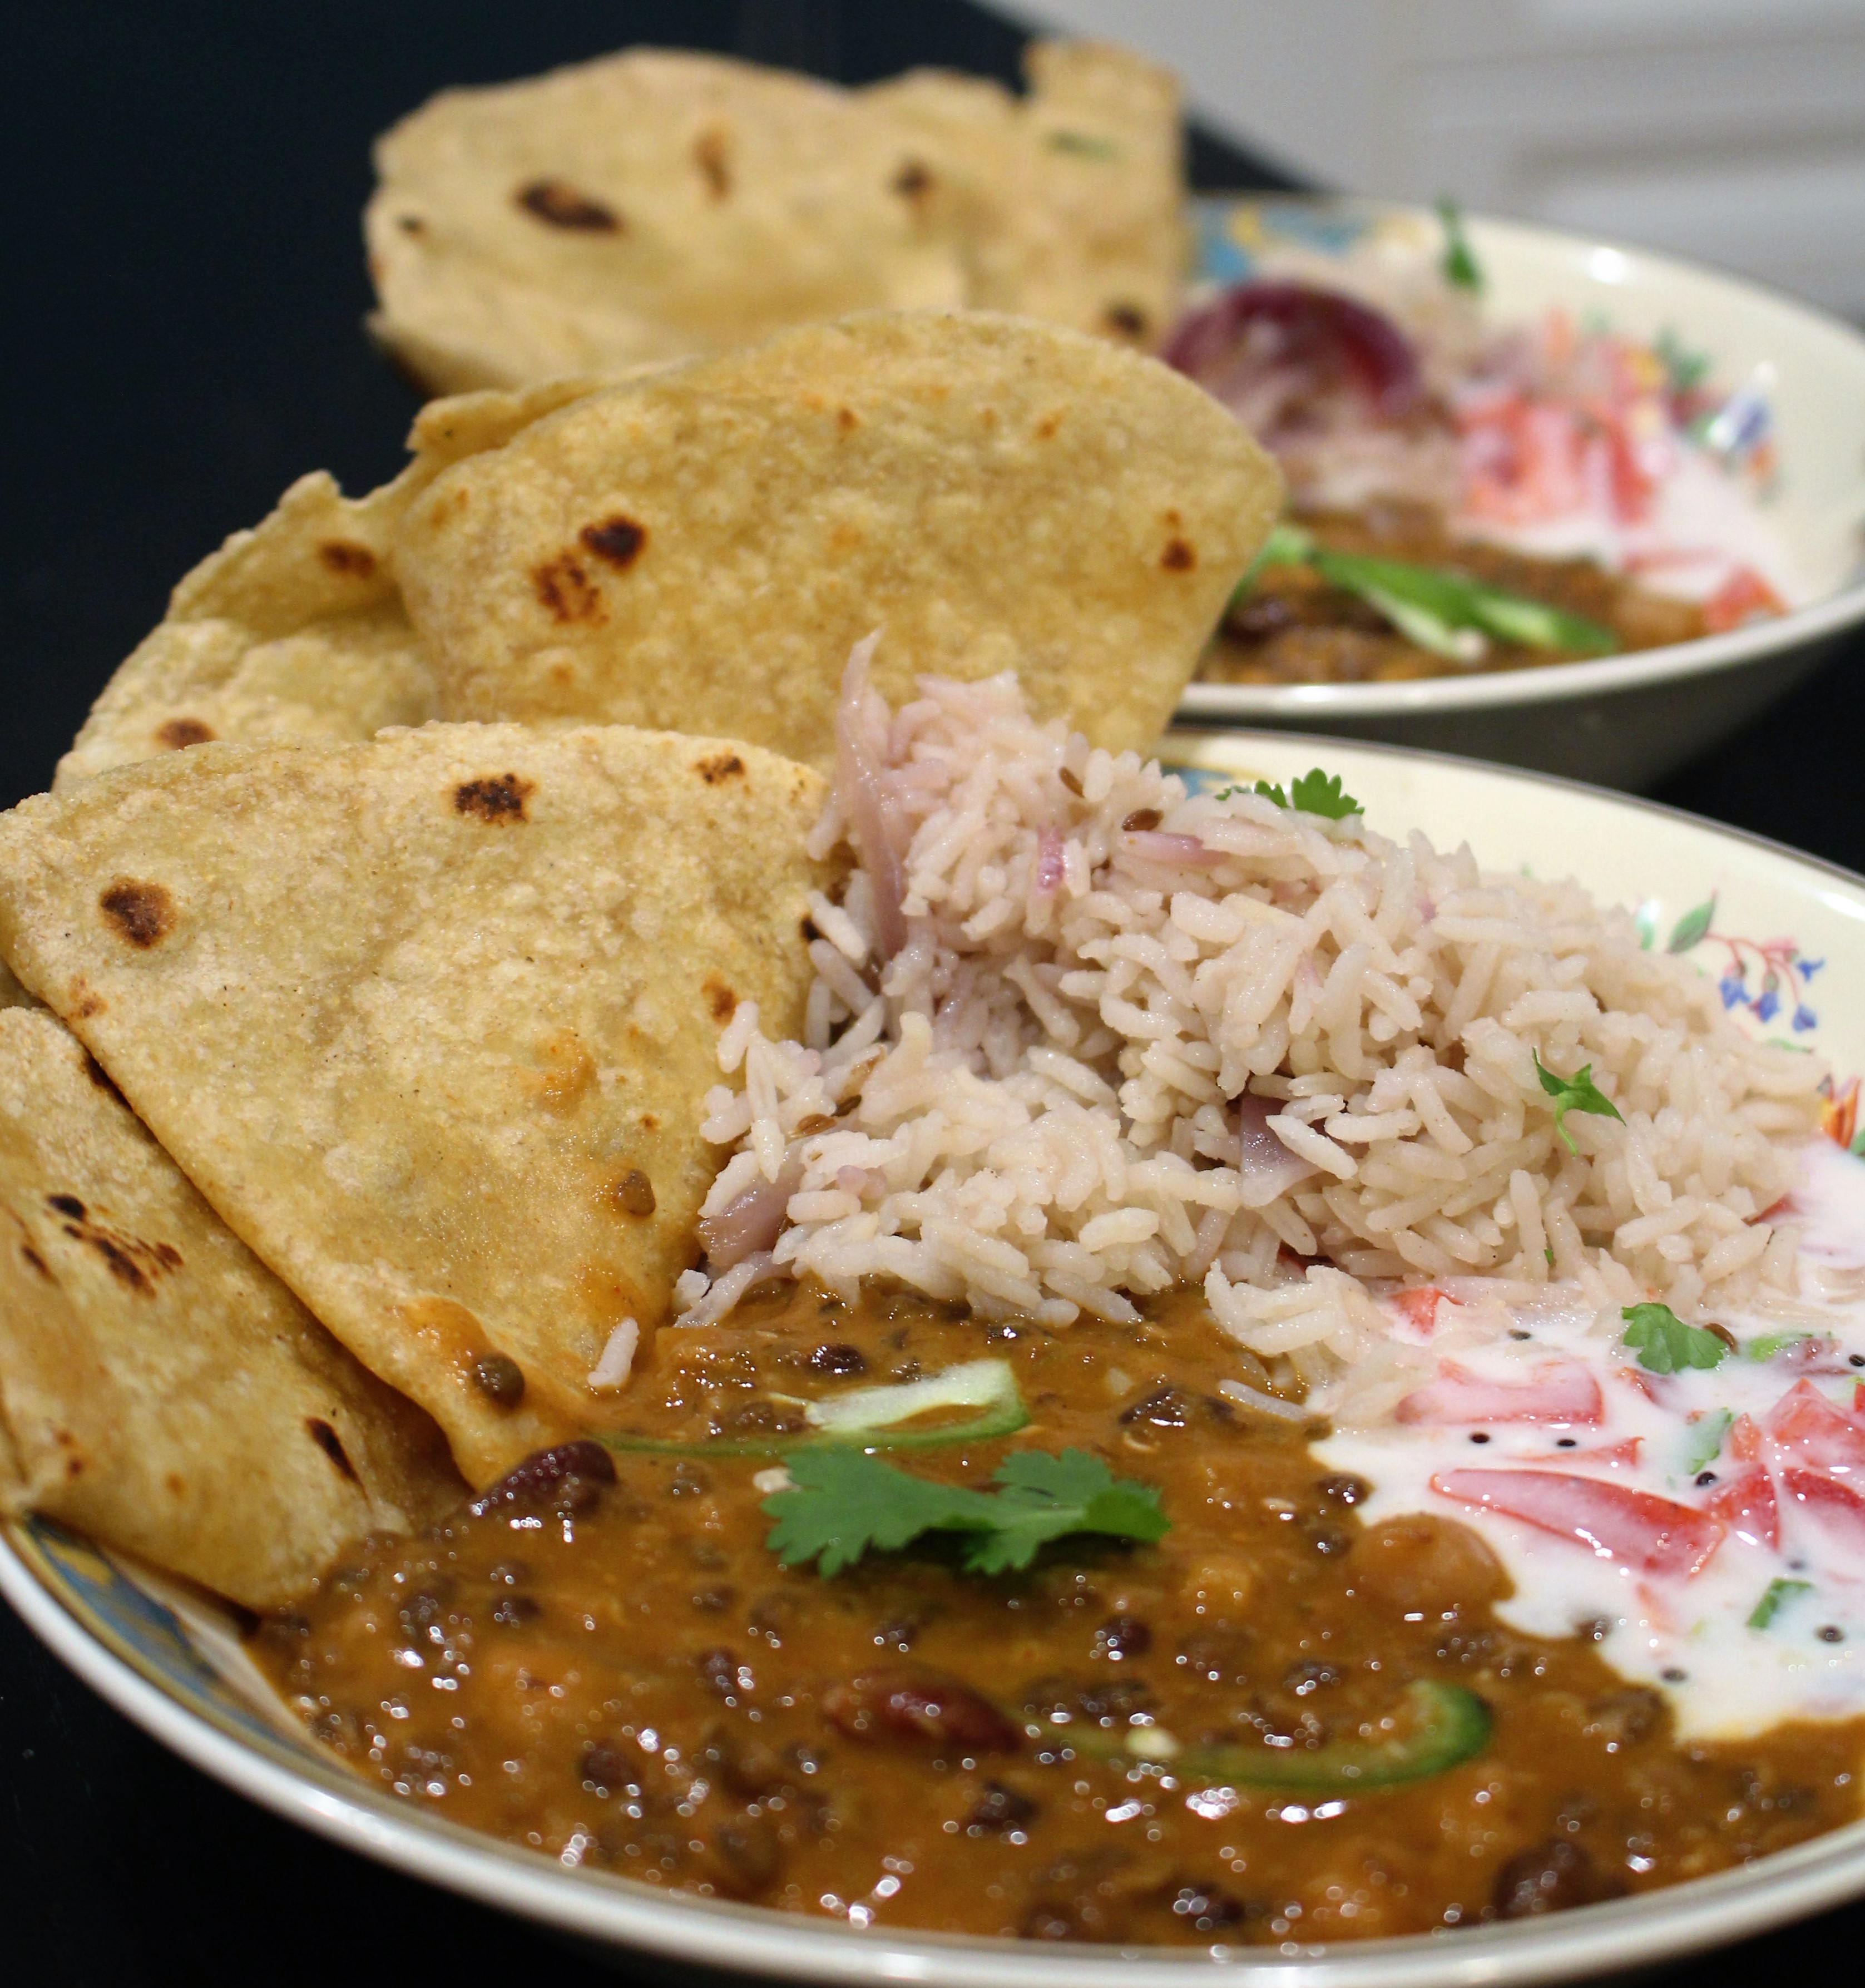
 I am aware of two different terms used to describe this yogurt concoction, one is pachadi, and the other is raita. The former word is more commonly used in southern India and the latter is more common in northern India. In our home, we use these terms interchangeably, since in essence, we are referring to the same thing. I am sure, to others, there may be a distinction. The only thing I have noticed that may help distinguish them is that in my Grandmother’s pachadi, you will note the addition of tempered mustard seeds, which she tells me is traditional, but definitely not necessary in a pinch.
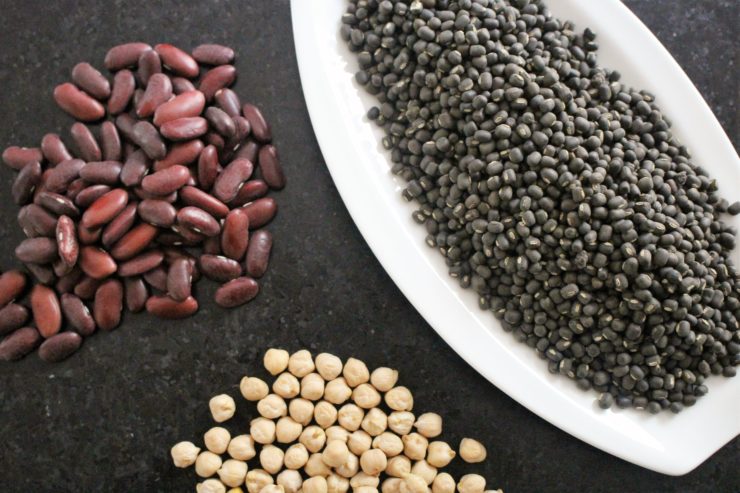
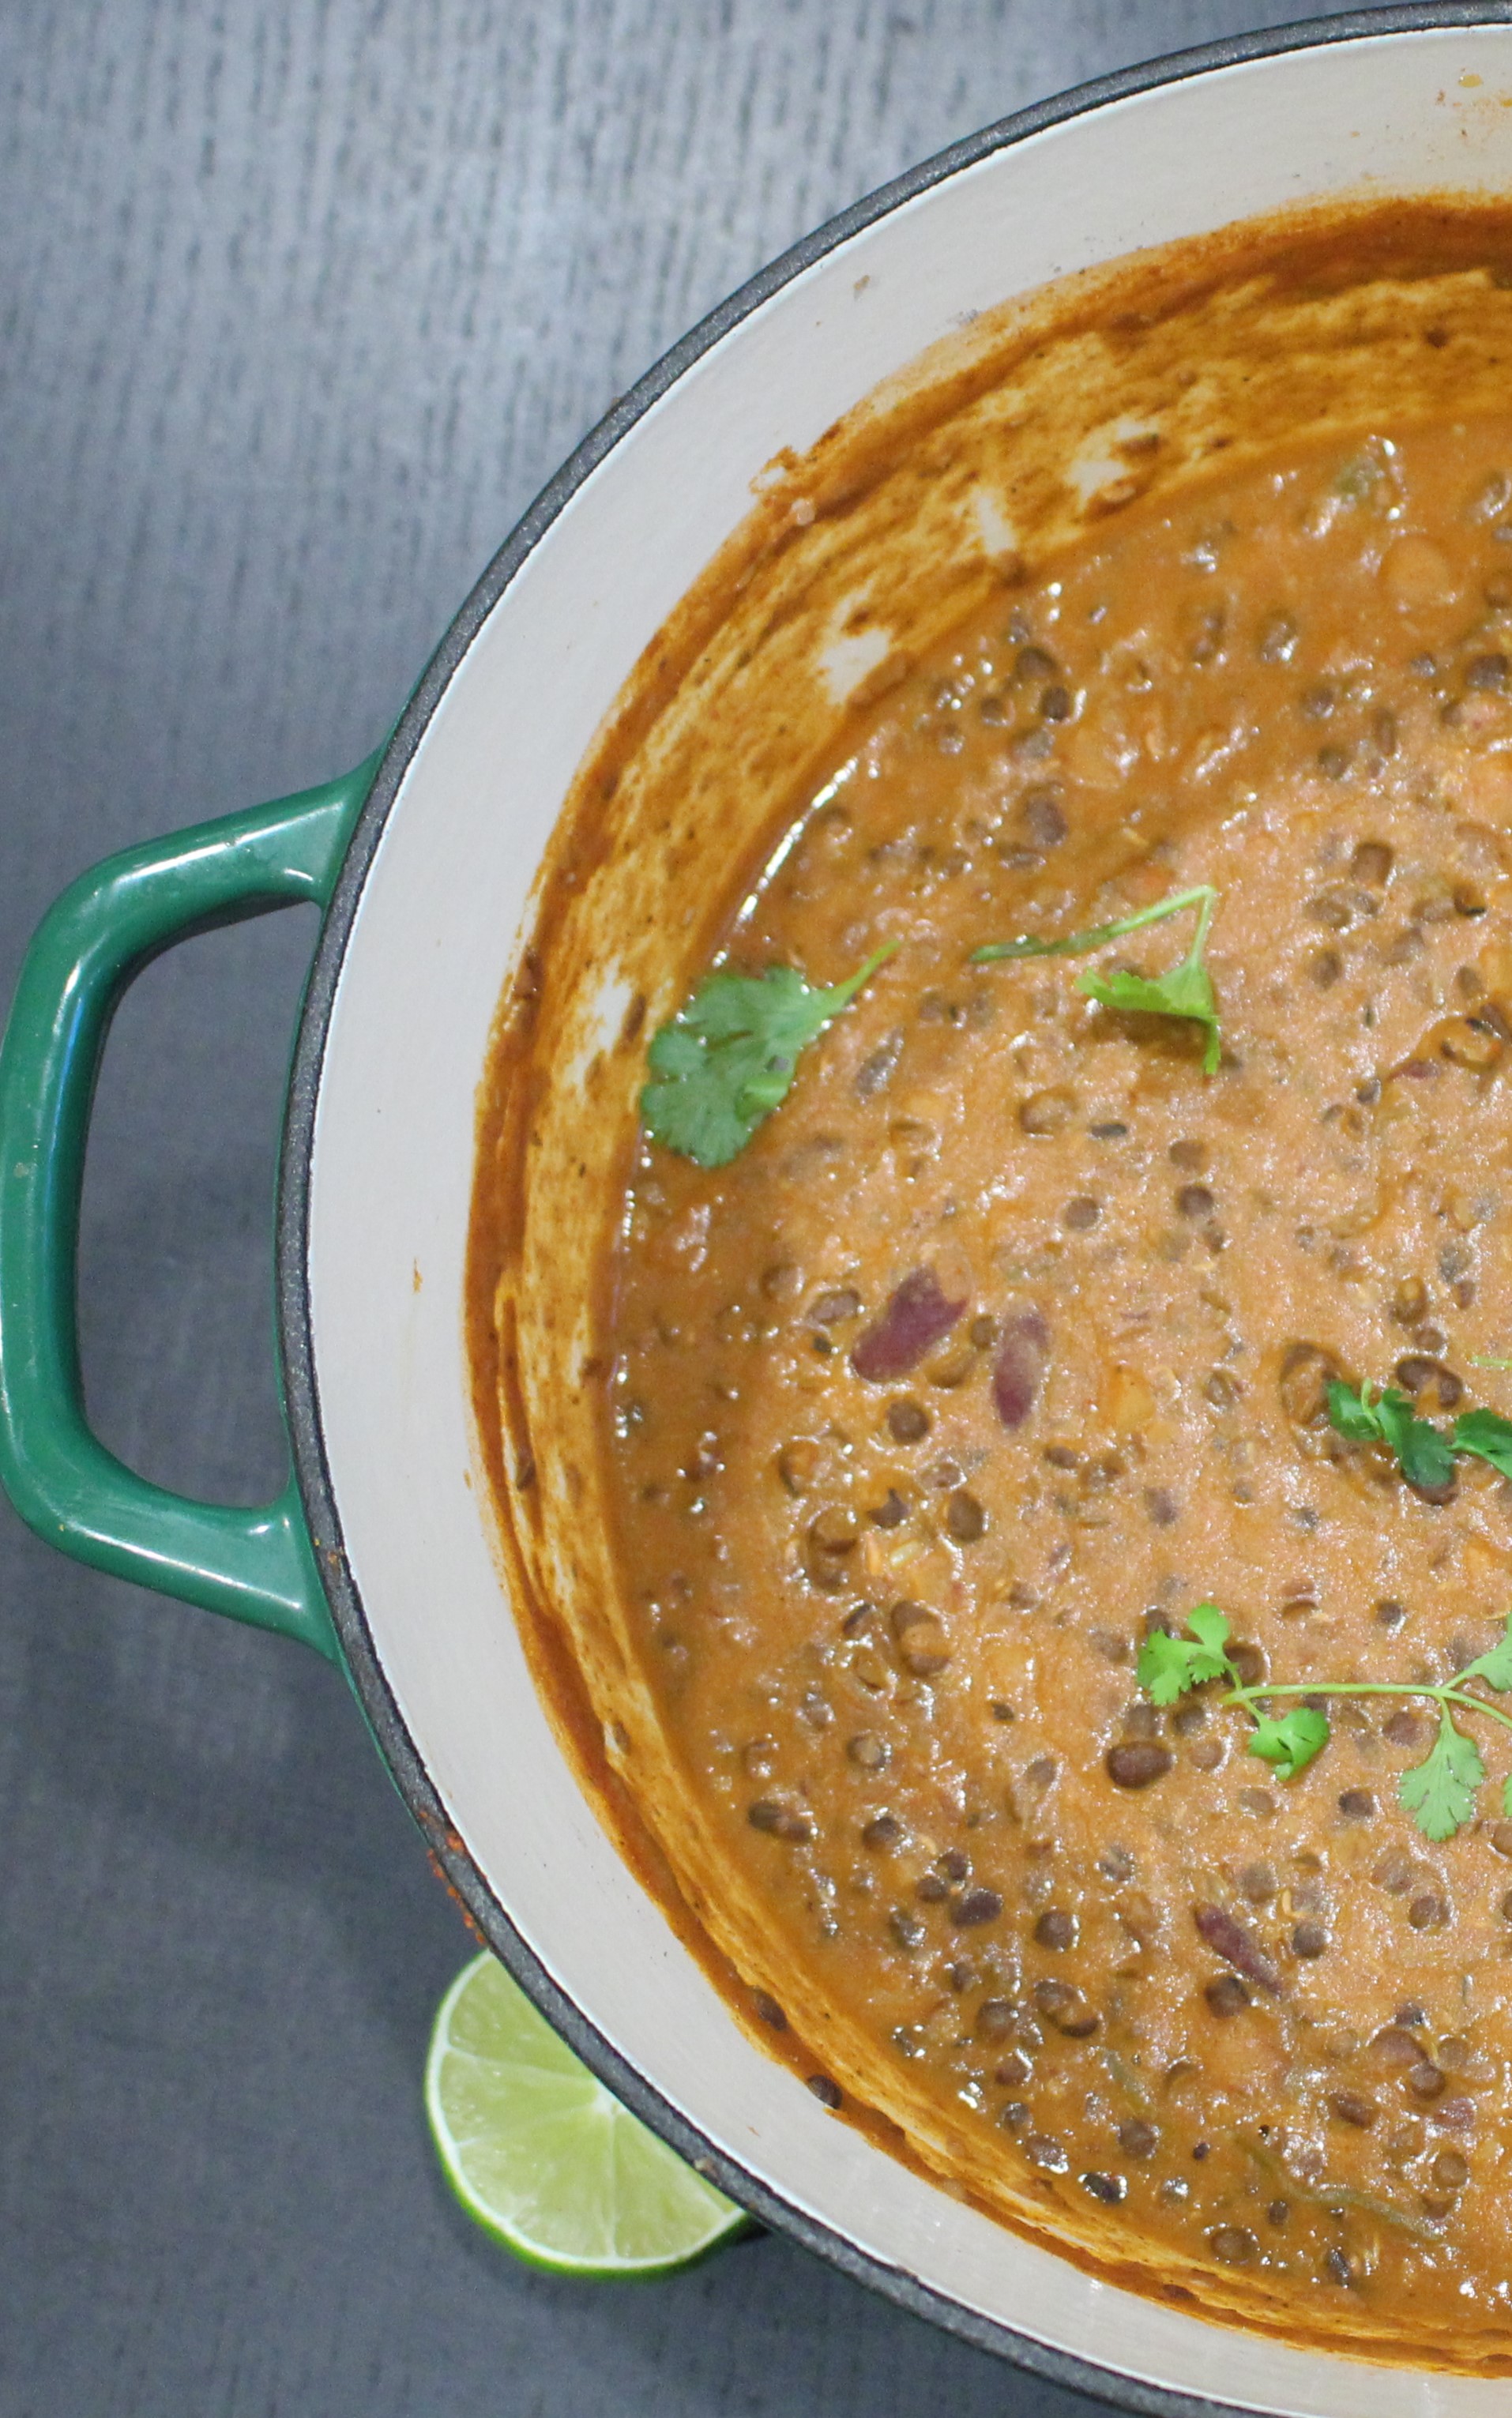 Dal Makhani is an excellent example of how simple cooking can lead to a beautiful plate of comfort food. Dal refers to the lentils in this stew. I only say stew for a lack of a better word, and I definitely will not say that this is a curry. Yes, the word curry can be used to describe vegetables or meat in an array of spices, but I find this term too general.